
Give your engine cases a fine finish
THE SMALL STUFF
How a rattle-can respray can make your bike’s cases look like new
Low-budget finish and UK weather and road salt can soon conspire to take the finish off of engine cases. Distressing and a little depressing, given the amount of money you have laid out for your bike. Thankfully, an economical fix is at hand in the form of a respray that you can do at home. However, as with any respray, preparation is key to a successful paint job – which means removing all of the flaky old paint back to the bare metalwork and then cleaning it thoroughly before picking up the spray can. Some spray paints will require a few coats of primer, too…
TOOLS NEEDED Abrasive wheel, spray paint
TIME TAKEN Two hours
DIFFICULTY ●●●●●
1. Water in the (paint) works
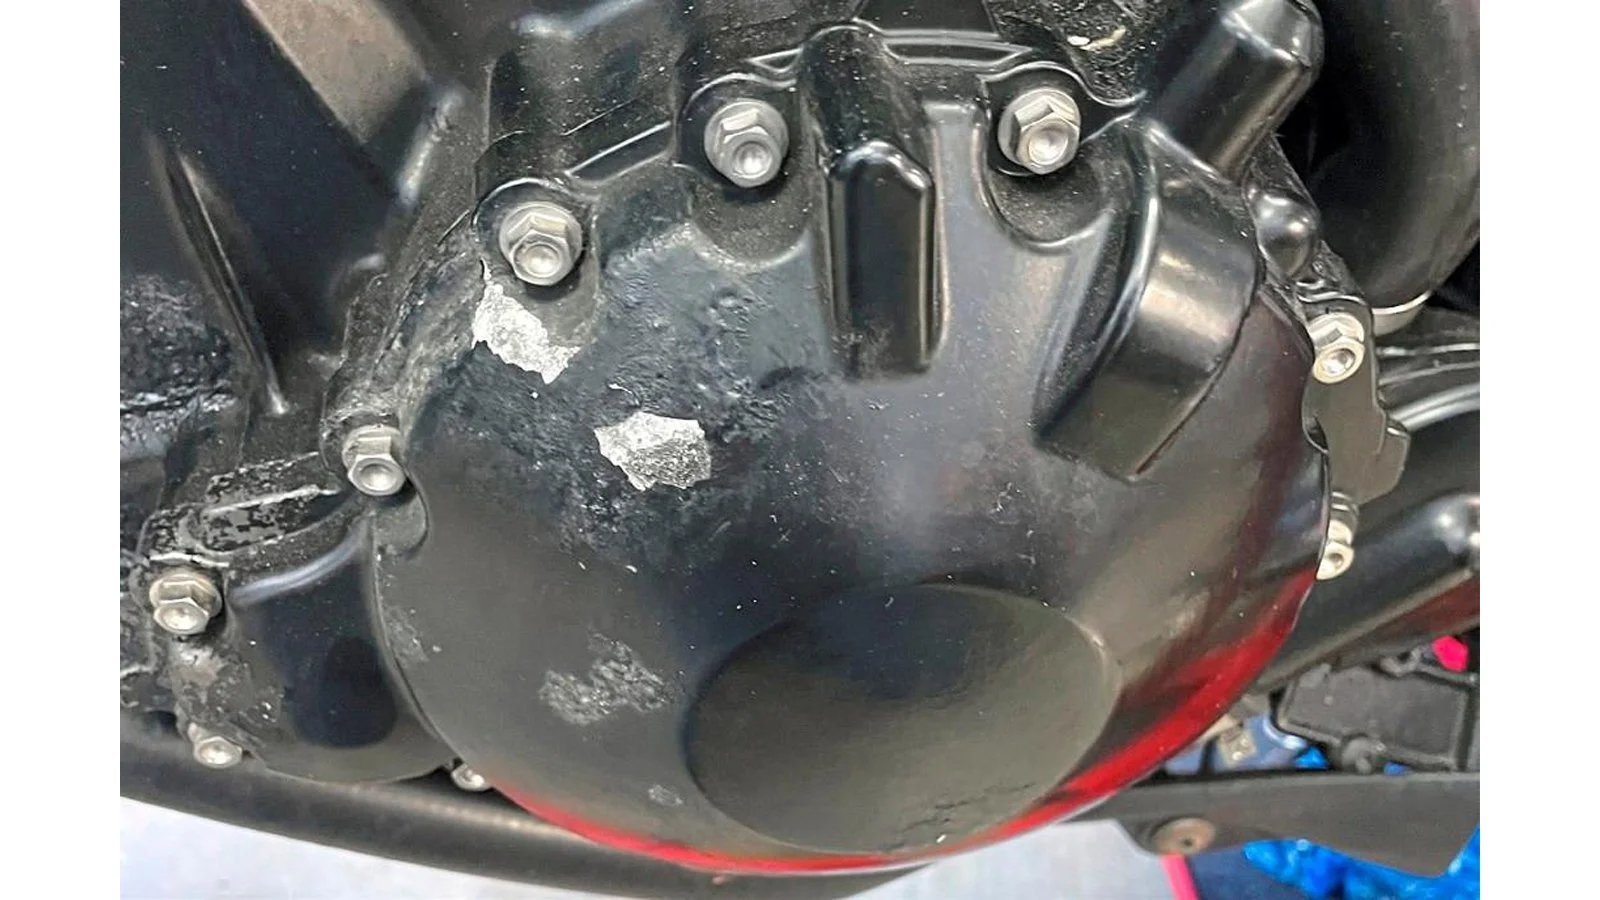
This is what we’re talking about. Moisture has found its way under the powder coat on the generator cover of our Triumph Tiger 1050 project bike. Where the finish has lifted, the aluminium has started to oxidise and pit. This is not a situation that is likely to get any better left to itself. The cover will have to come off for cleaning and refinishing.
2. Back to bare metal
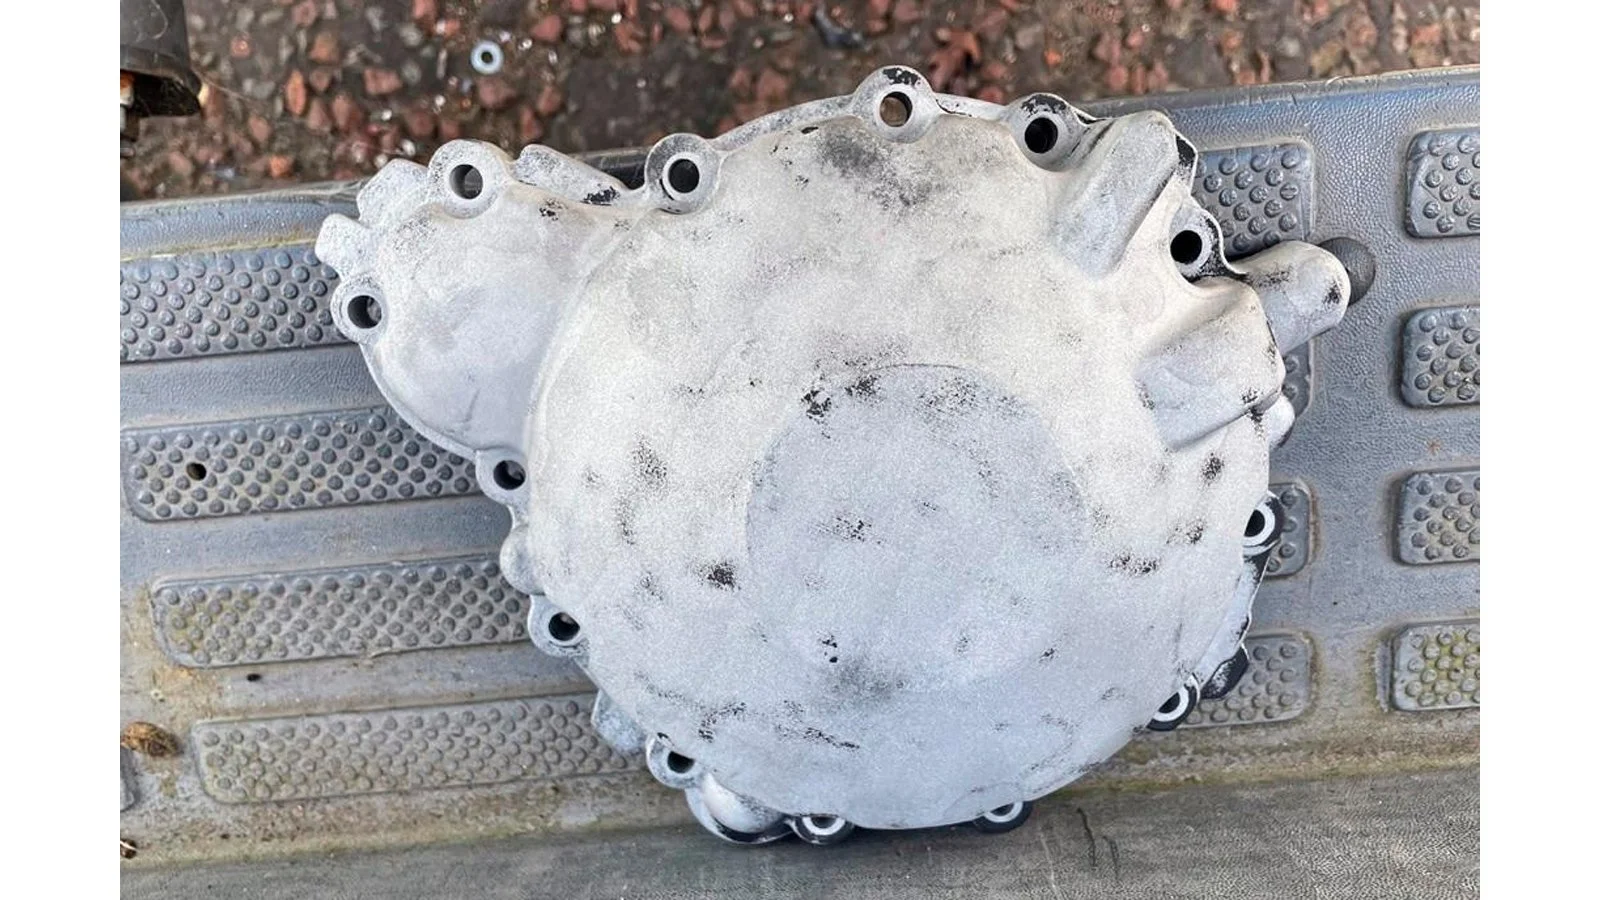
The finish applied to a particular case or cover dictates the best way of removing the old paint. Paint strippers aren’t what they once were because of chemical bans. If you don’t have access to a bead blaster, soft abrasive wheels – such as a Scotch-Brite wheel – are the best bet. Be thorough, but work carefully to avoid gouging into the base metal.
3. Time to get spraying
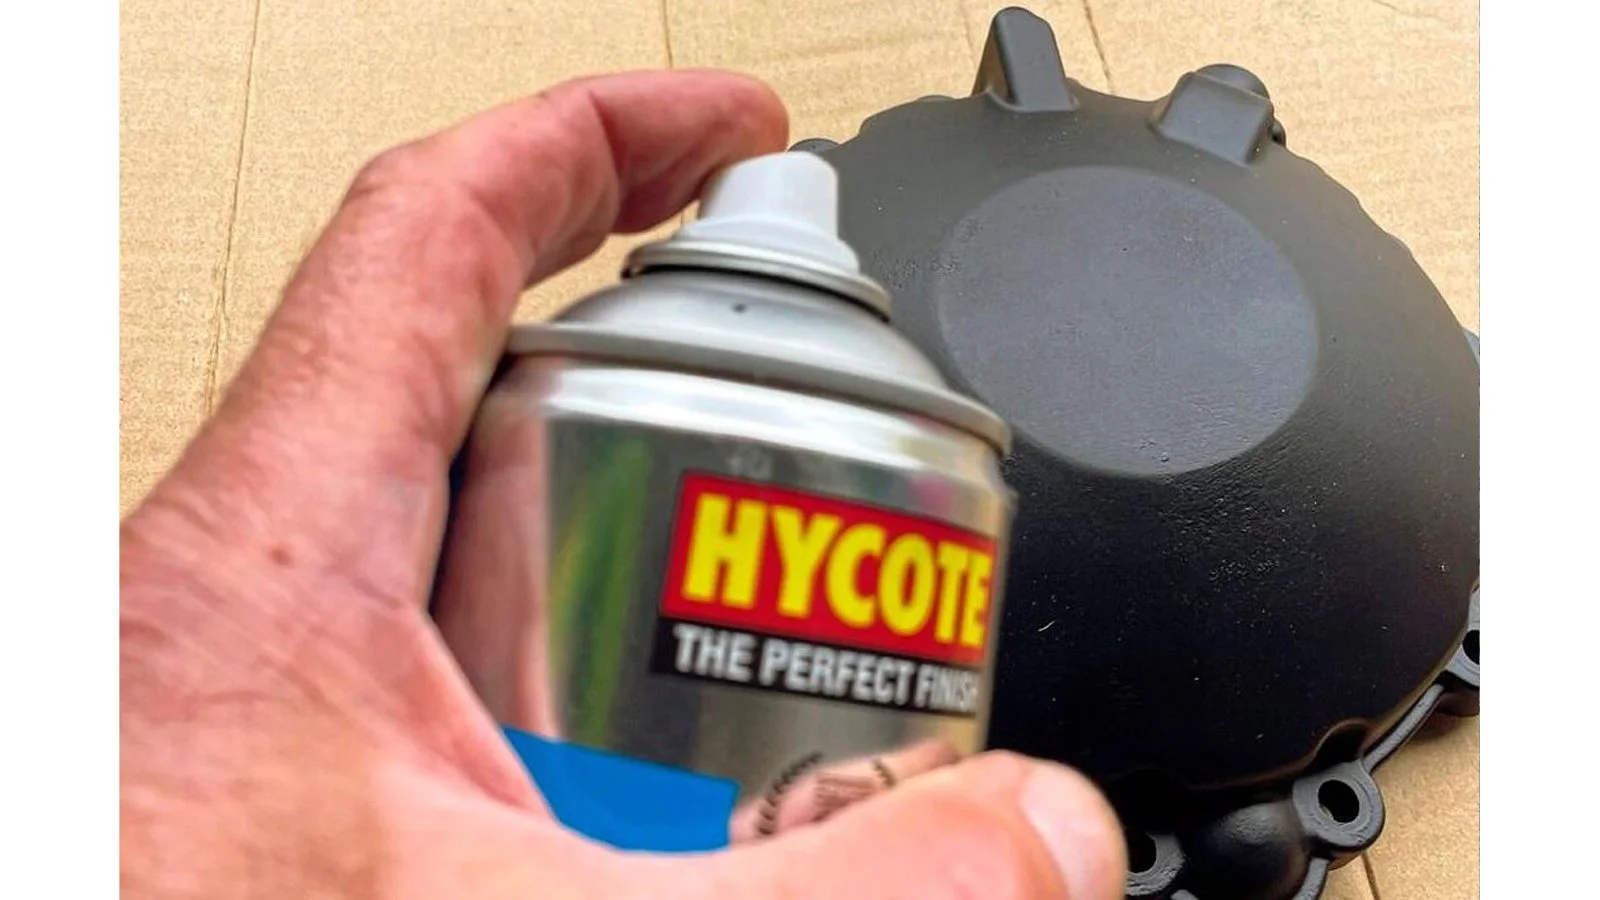
Once stripped, you need to decide on the best finish. Prior to application, you may want to sand or polish any surface imperfections caused by pitting or corrosion. We didn’t get too fussy here – the paint we’re using is a satin black that requires no primer. Build up thin coats to avoid runs, and leave sufficient time between each coat – typically 10 to 15 minutes – to dry.
4. As good as (almost) new
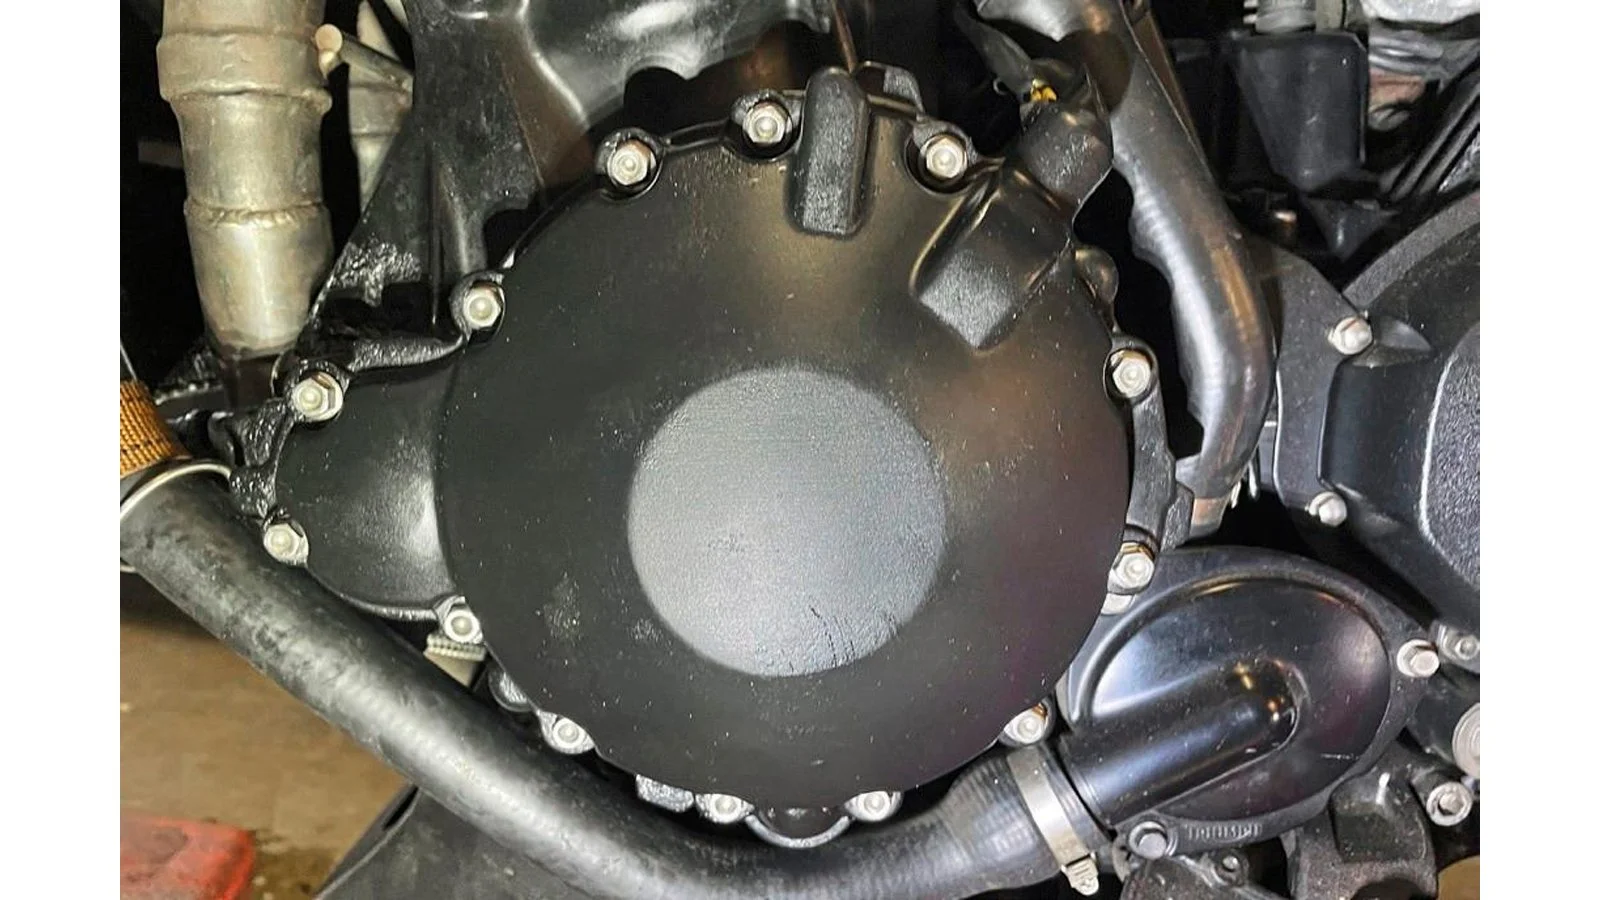
Here is the casting returned to the bike. Much refreshed compared to how it looked when it was removed. A new gasket between the generator cover and the crankcases was essential because the original was destroyed on removal. The costliest part of the whole endeavour. Be sure to remove all traces of any previous gaskets before fitting a new one.